#

hack

(3 articles)

Pwnagotchi - Pwn all the WiFi

Pwnagotchi is an open source handheld that snarfs Wi-Fi handshakes. The Tamagotchi-inspired device helps wandering hackers to crack Wi-Fi passwords while looking adorable. The Pwnagotchi gets smarter the more networks it gets exposed to using machine learning. It also has an adorable interface that reflects different "moods" depending on what it's doing. In case you're curious about the name: Pwnagotchi is a portmanteau of pwn and -gotchi. It is a nostalgic reference made in homage to a very popular children's toy from the 1990s called the Tamagotchi. The Tamagotchi, derived from tamago "egg" + uotchi "watch" is a cultural touchstone for many Millennial hackers as a formative electronic toy from our collective childhoods. ![image](https://briangreen.net/images/pwn2.jpg) ## **How a Pwnagotchi works** The idea is for its user to carry it around the neighborhood or town while turned on and let it "feed" on all the Wi-Fi handshakes, the process that allows phones or laptops to communicate with other wireless devices like a router or a smart TV. In theory, these handshakes can then be cracked to reveal the Wi-Fi network's password. The Pwnagotchi can capture Wi-Fi networks nearby and learn how to collect handshakes more efficiently overtime, using a type of machine learning called “deep reinforcement learning,” the same underlying tech that powers both AlphaGo and Super Mario-playing AIs. ![image](https://briangreen.net/images/pwn3.jpg) The deep learning algorithm is programmed to optimize the parameters needed to collect as many handshakes as possible. Every network is a bit different, and the way the Pwnagotchi collects handshakes from them will depend on if it's on a busy street or in an office, for example. ## **Building your own Pwnagotchi** To run the software, all you need is a [Raspberry Pi Zero W](https://amzn.to/3EGiEr2), a [microSD card](https://amzn.to/3mej69u) with at least 8 GB of storage, and an [external battery](https://amzn.to/3Ye3jEJ). If you want to see the Pwnagotchi's cute black and white emoji face, you'll also need a [2-inch e-paper display](https://amzn.to/3SDP6A7). Here are [instructions on how to build and install your pwnagotchi](https://pwnagotchi.ai/installation/). ## **3D-Printed Pwnagotchi Case** I highly recommend putting your Pwnagotchi's body inside a case especially if you don't want your Pwnagotchi to get dirty (or short the GPIO pins on the back). It also just looks super cool! There are hundreds of free custom cases you can 3D print yourself. Here are some Pwnagotchi 3D printer files from [Thingiverse](https://www.thingiverse.com/search?page=1&q=pwnagotchi&sort=relevant&type=things). I had a friend 3D print the case I use for my Pwnagotchi (below) in Army Green. This is a [link to the case I have](https://www.thingiverse.com/thing:3897860). ## **Converting to a Negative Display** Recently I converted my Pwnagotchi's display to a negative one. If you're wondering how you can do it too, it's pretty easy. Follow these steps: `ssh into pwnagotchi make sure you got su`\ \ `use nano or similar to edit this file:`\ \ `sudo nano /usr/local/lib/python3.7/dist-package/pwnagotchi/ui/view.py` Then you need to invert the color constants located at the start of the code, they should then have this value: `WHITE = 0x00`\ `BLACK = 0xff` Ctrl+x to save and just wait for the pi to restart pwnagotchi service. Done! ![image](https://briangreen.net/images/pwn1.jpg)

DIY - Single Use Antibiotic Packs

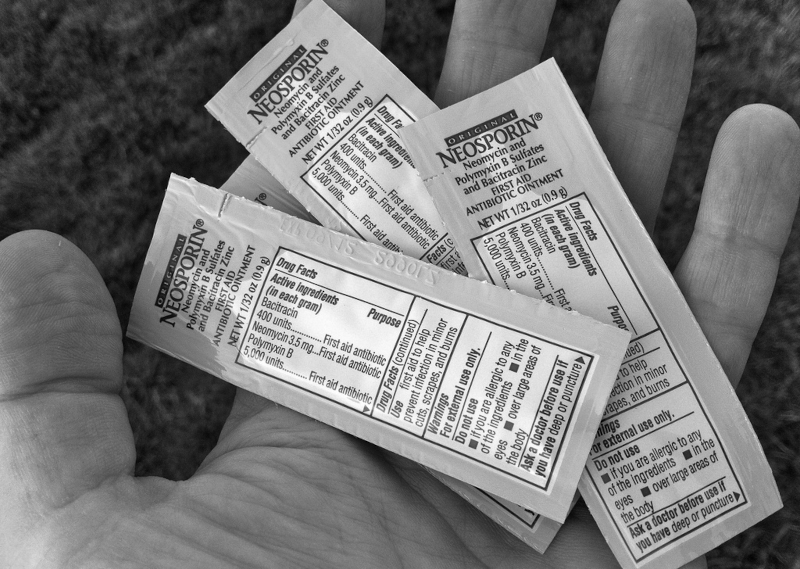
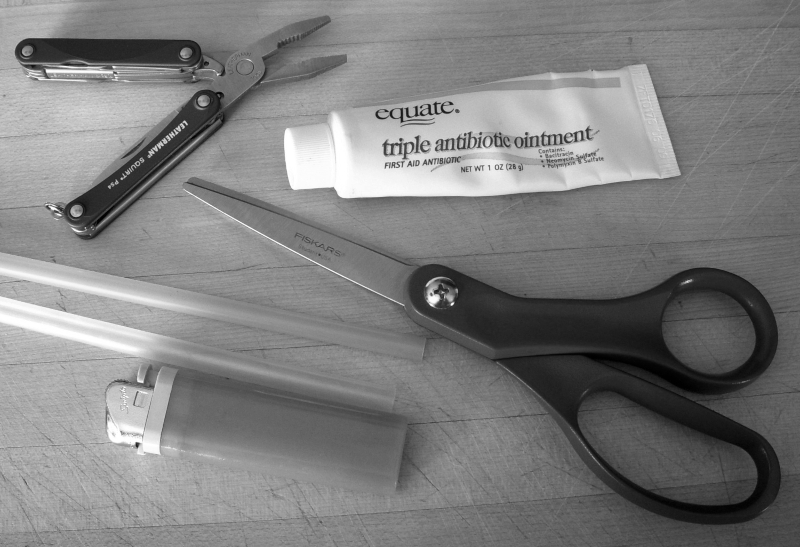
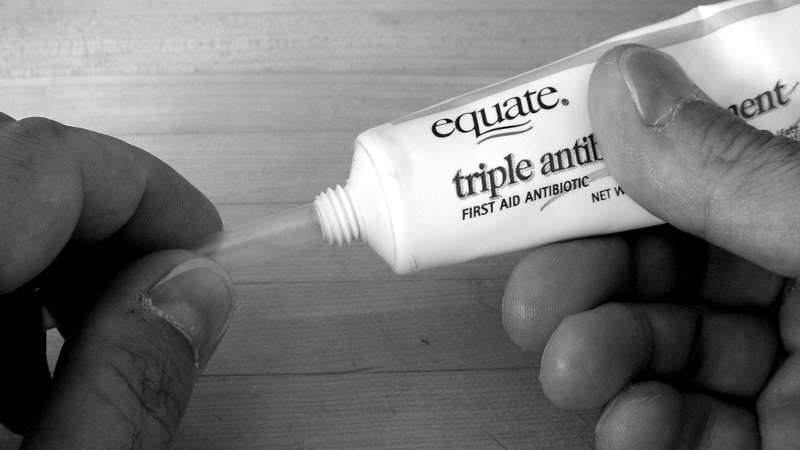
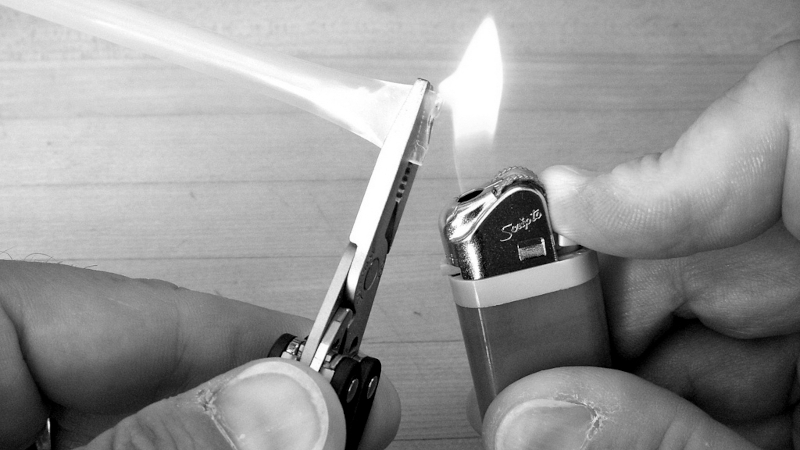
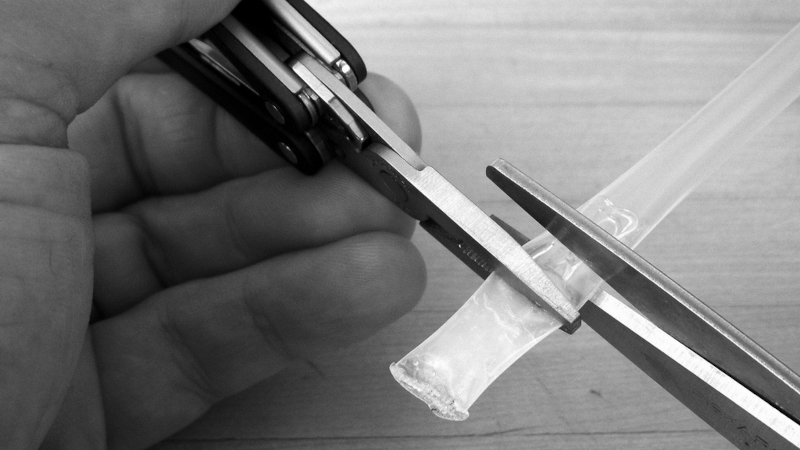
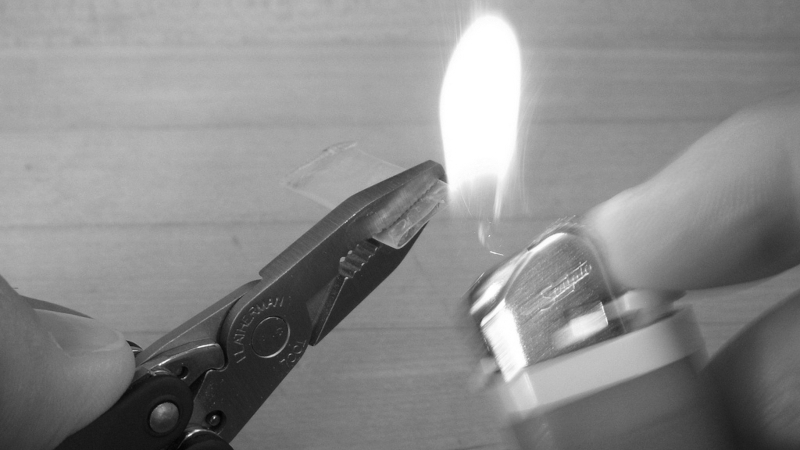
The ongoing trend in the consumer market of providing small, ready-to-go, individual size packages of consumables has been a win-win for the lightweight and ultralight backpacking communities. Always looking to shave a few extra ounces or grams off of our overall pack weight, these individual servings are the perfect fit for trail snacks, drinks, condiments - you name it. However, these nicely packaged individual servings can come at a premium. They can often be pricy or difficult to find without going online and ordering in bulk +shipping. That's when the creative types among us come up with ingenious solutions that lets us make our own alternatives using things we usually have lying around. ![Gear I use](https://briangreen.net/images/ant2.jpg) Which brings me to today's topic - individual size packages of antibiotic cream. I've carried a few of the Neo-to-go (Neosporin) packets with me as part of my first aid kit for quite some time. They're small, handy and easy to use, but they have some downsides. Firstly they are expensive, secondly each antibiotic packet contains way more ointment than I need for a small cut or graze - an awful lot more and once it's been opened it shouldn't be reused or saved. ![Gear I use](https://briangreen.net/images/ant3.jpg) Here is a really clever solution to this problem that involves a tube of antibiotic ointment (generic), a plastic drinking straw, a Bic lighter and a pair of needle-nose pliers (I use my Leatherman Squirt PS4). We're going to make very small, single use packets of antibiotic ointment using a generic alternative to Neosporin and a clean (unused) drinking straw. If you're like me and have kids, chances are very good that you have an open tube of antibiotic ointment in your medical cabinet. On its own it is too large to carry on a backpacking trip, so we're going to re purpose it. ![Gear I use](https://briangreen.net/images/ant4.jpg) Place the straw over the opening of the antibiotic ointment tube and carefully squeeze in a small amount of the ointment that is approximately one quarter of an inch in length. You'll notice that transparent straws work best for this. Use you fingers to squeeze the end of the straw so that it pushes the ointment further up inside the plastic straw. This will provide a clean area for sealing the end of the straw without having the antibiotic ointment ooze out while you are holding it with your pliers. ![Gear I use](https://briangreen.net/images/ant4.jpg) Hold the end of the straw with your needle-nose pliers so that a small amount of the straw is protruding. This will be used to melt and seal the end of the straw. Take your Bic lighter and carefully melt the end of the straw so that it forms a seal. I like to quickly pinch the melted end with my pliers to ensure a good seal. ![Gear I use](https://briangreen.net/images/ant5.jpg) Turn the straw around and find the point where the antibiotic ointment went up to inside the straw. Pinch just past that with your needle-nose pliers and cut off the excess straw with a pair of scissors making sure to leave a small amount of the straw protruding for sealing with your lighter just as you did in the first step. ![Gear I use](https://briangreen.net/images/ant6.jpg) Now you have a single use packet of antibiotic ointment that you can carry with you as part of your UL backpacking first aid kit. These are also perfect for EDC carry in a pocket or even your wallet. ![Gear I use](https://briangreen.net/images/ant7.jpg) I've yet to have one of these burst or fail on me. Simple, affordable, and very convenient. A great way to make use of those open tubes that are lying around with just a small amount of antibiotic ointment left in them. Pretty clever idea that can be used for other purposes, what do you think?