#

streaming

(24 articles)

Goodbye Streaming, Hello Chaos: My Return to a Local Music Collection

I have finally snapped. Not in a “turn your radio to 666 AM and wait for further instructions” kind of way, but in a “cancel every streaming subscription, wipe my phone, and return to my personal music collection like it’s 2007” kind of way. You see, my hard drive is a musical landfill. I’ve got MP3s at 128 kbps that sound like they were recorded through a potato, 320 kbps tracks that are fine but redundant, and FLAC files so enormous they’re basically squatting on my storage like an unpaying tenant. Every time I scroll through my library, I can almost hear my SSD weeping. So I’ve chosen a middle path: **Opus at around 160 kbps**. - Small enough to not need a NASA-sized hard drive. - Clear enough to hear the cymbal crashes without wondering if the drummer is trapped in a cardboard box. - Perfect for cramming thousands of songs onto my phone without my storage screaming for mercy. Yes, I know — audiophiles will tell me I’m “throwing away precious bits of sonic magic” and minimalists will say, “Why not just keep the streaming?” But both camps can relax: I’m going back to a time when I *owned* my music, didn’t need an internet connection to enjoy it, and could happily spend hours making playlists called things like *Driving Into a Storm While Questioning Life Choices*. And speaking of phones, this coincides perfectly with my upcoming switch to Android. I’ll finally have the freedom to load up a microSD card, drag-and-drop my tunes like it’s the golden age of Winamp, and maybe even bring back a dancing llama visualizer for good measure. Now, technically, I’m *still* holding onto one streaming service… the Apple Family Music plan. Why? Because my entire household are Apple Kool-Aid–drinking zombies, and if I dared cancel it, I’d be exiled to the couch with only a broken Bluetooth speaker for company. In the future, I’ll probably get a bigger phone with more storage, but for now, I’m just happy to be cutting out most of the subscription noise and building my own portable jukebox. Streaming services, it’s been real. But our relationship was never exclusive. And now I’m running off with my old FLAC files — after I squeeze them into something more reasonable, of course.

ZAPSTREAMING FOR NORMIES

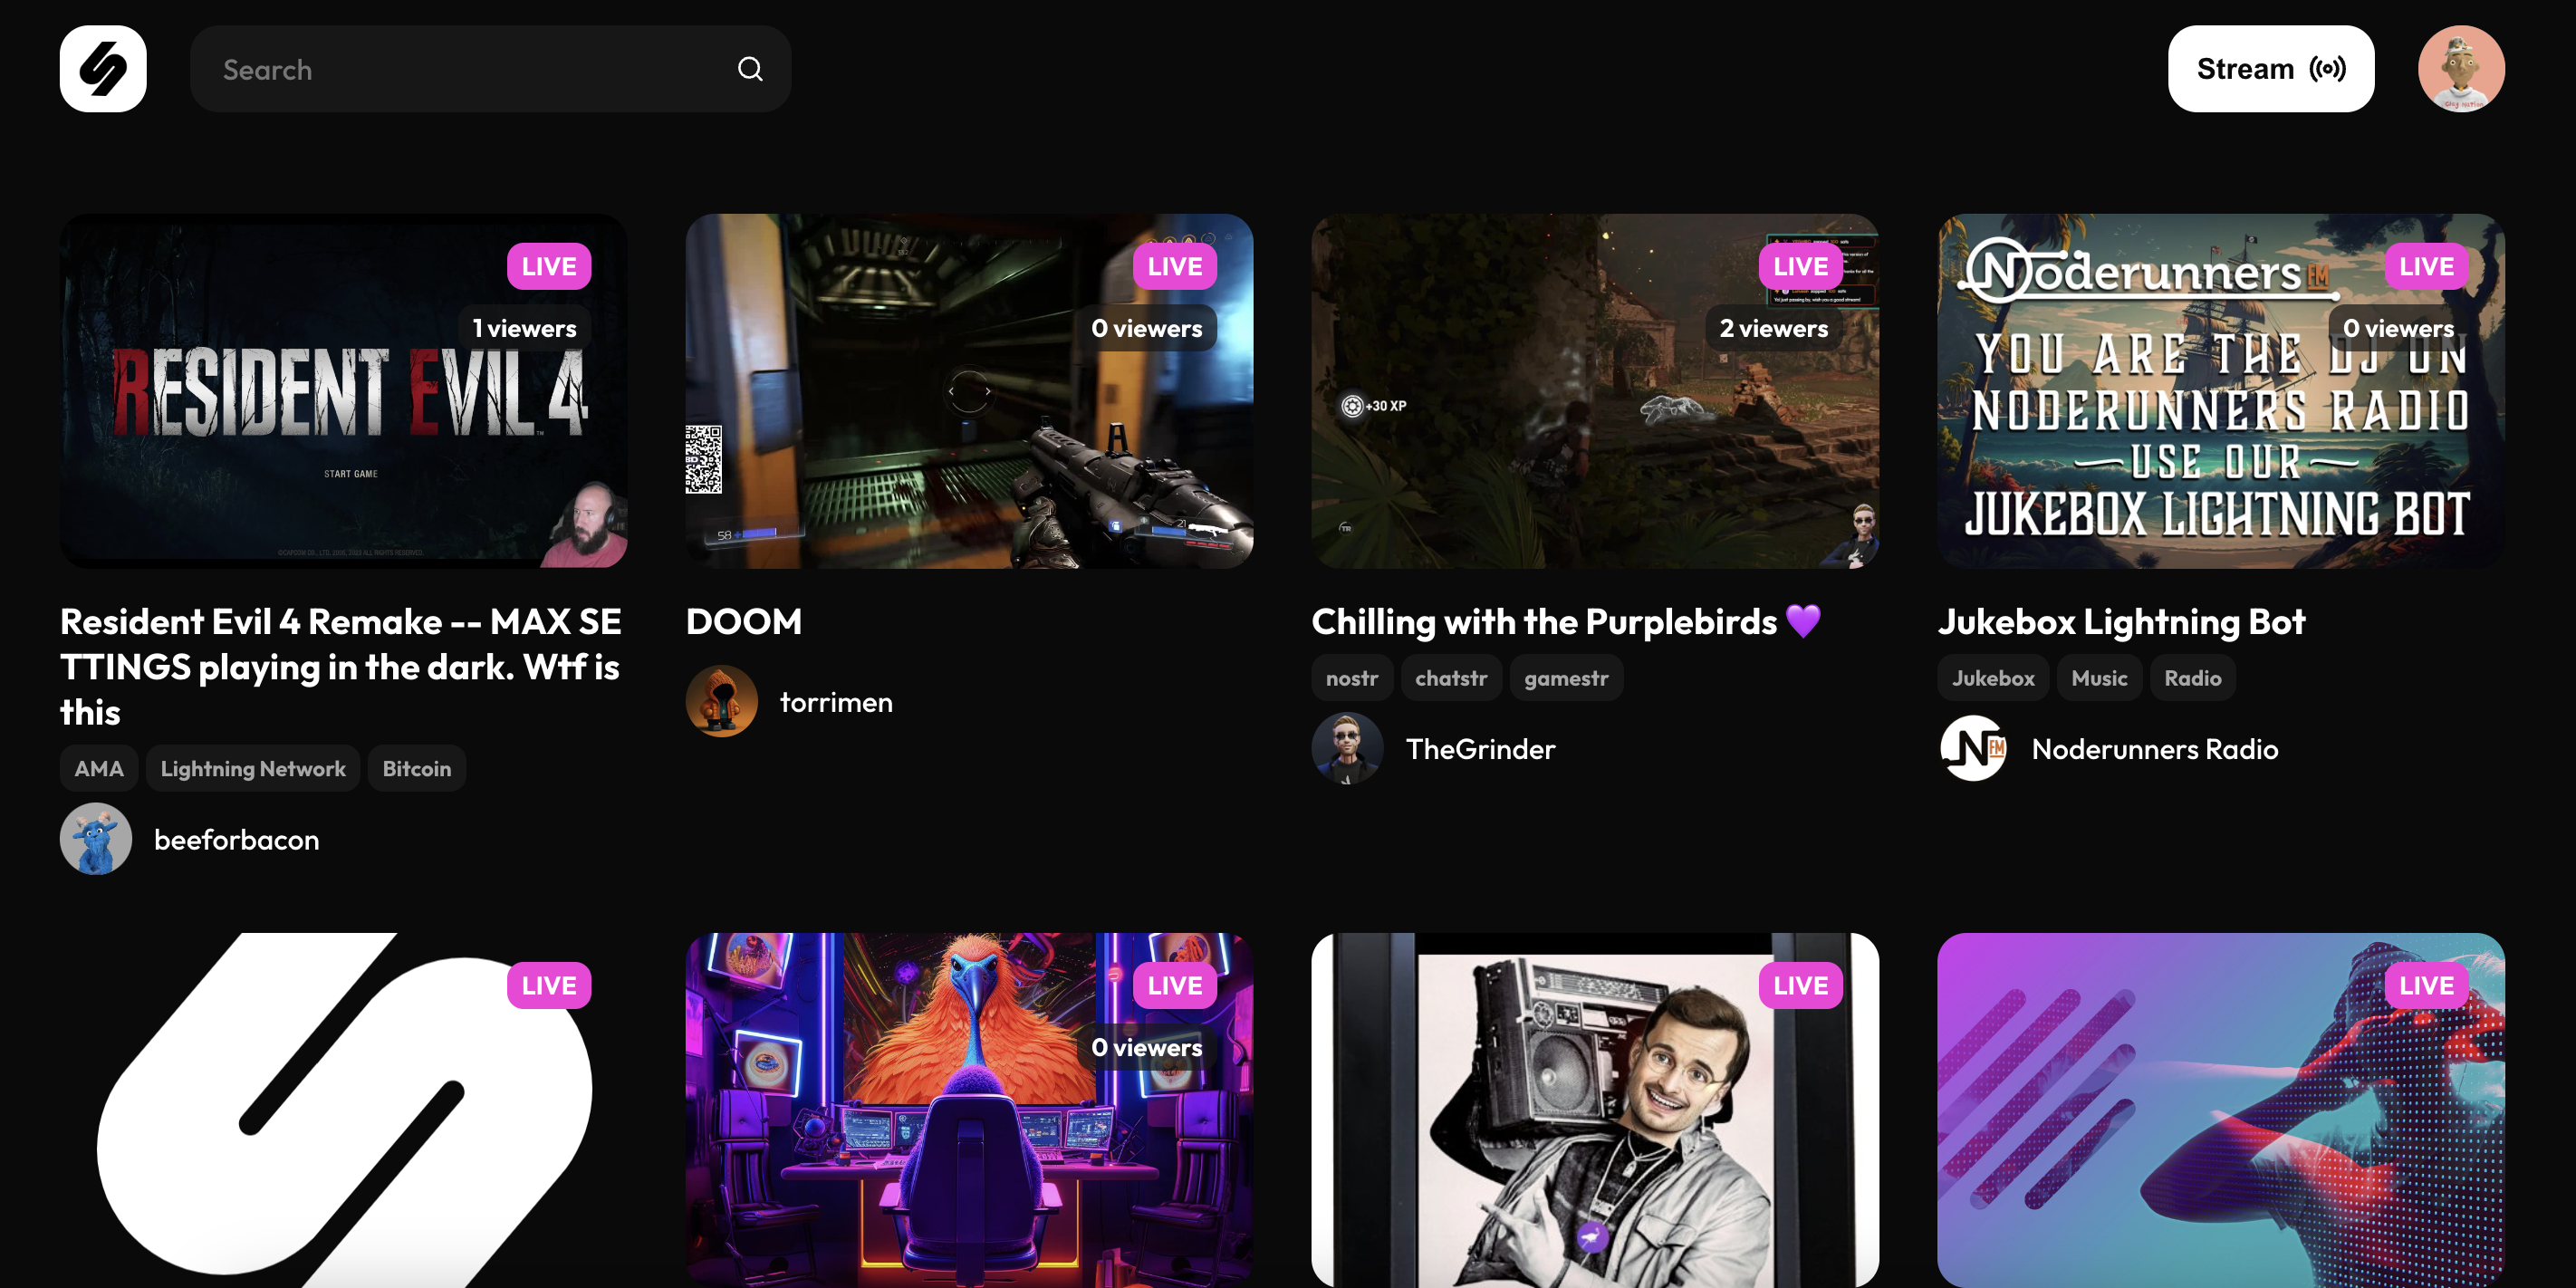
This article will be basic instructions for extreme normies (I say that lovingly), or anyone looking to get started with using zap.stream and sharing to nostr. **EQUIPMENT** Getting started is incredibly easy and your equipment needs are miniscule. An old desktop or laptop running Linux, MacOs, or Windows made in the passed 15yrs should do. Im currently using and old Dell Latitude E5430 with an Intel i5-3210M with 32Gigs of ram and 250GB hard drive. Technically, you go as low as using a Raspberry Pi 4B+ running Owncast, but Ill save that so a future tutorial. Let's get started. **ON YOUR COMPUTER** You'll need to install OBS (open broaster software). OBS is the go-to for streaming to social media. There are tons of YouTube videos on it's function. WE, however, will only be doing the basics to get us up and running. First, go to [https://obsproject.com/](https://obsproject.com/) ![image](https://yakihonne.s3.ap-east-1.amazonaws.com/5bd346992111e56b92cafc41a37c7505c763a2d87b15b38c41231f502012648a/files/1737305630836-YAKIHONNES3.png) Once on the OBS site, choose the correct download for you system. Linux, MacOs or Windows. Download (remember where you downloaded the file to). Go there and install your download. You may have to enter your password to install on your particular operating system. This is normal. Once you've installed OBS, open the application. It should look something like this... ![image](https://yakihonne.s3.ap-east-1.amazonaws.com/5bd346992111e56b92cafc41a37c7505c763a2d87b15b38c41231f502012648a/files/1737306212995-YAKIHONNES3.png) For our purposes, we will be in studio mode. Locate the 'Studio Mode' button on the right lower-hand side of the screen, and click it. ![image](https://yakihonne.s3.ap-east-1.amazonaws.com/5bd346992111e56b92cafc41a37c7505c763a2d87b15b38c41231f502012648a/files/1737306295440-YAKIHONNES3.png) You'll see the screen split like in the image above. The left-side is from your desktop, and the right-side is what your broadcast will look like. Next, we go to settings. The 'Settings' button is located right below the 'Studio Mode" button. ![image](https://yakihonne.s3.ap-east-1.amazonaws.com/5bd346992111e56b92cafc41a37c7505c763a2d87b15b38c41231f502012648a/files/1737306706484-YAKIHONNES3.png) Now we're in settings and you should see something like this... ![image](https://yakihonne.s3.ap-east-1.amazonaws.com/5bd346992111e56b92cafc41a37c7505c763a2d87b15b38c41231f502012648a/files/1737306758256-YAKIHONNES3.png) Now locate stream in the right-hand menu. It should be the second in the list. Click it. ![image](https://yakihonne.s3.ap-east-1.amazonaws.com/5bd346992111e56b92cafc41a37c7505c763a2d87b15b38c41231f502012648a/files/1737306925914-YAKIHONNES3.png) Once in the stream section, go to 'Service' and in the right-hand drop-down, find and select 'Custom...' from the drop-down menu. ![image](https://yakihonne.s3.ap-east-1.amazonaws.com/5bd346992111e56b92cafc41a37c7505c763a2d87b15b38c41231f502012648a/files/1737307207695-YAKIHONNES3.png) Remeber where this is because we'll need to come back to it, shortly. **ZAPSTREAM** We need our streamkey credentials from Zapstream. Go to [https://zap.stream](https://zap.stream). Then, go to your dashboard. ![image](https://yakihonne.s3.ap-east-1.amazonaws.com/5bd346992111e56b92cafc41a37c7505c763a2d87b15b38c41231f502012648a/files/1737307671114-YAKIHONNES3.png) Located on the lower right-hand side is the Server URL and Stream Key. You'll need to copy/paste this in OBS. ![image](https://yakihonne.s3.ap-east-1.amazonaws.com/5bd346992111e56b92cafc41a37c7505c763a2d87b15b38c41231f502012648a/files/1737308229832-YAKIHONNES3.png) You may have to generate new keys, if they aren't already there. This is normal. If you're interested in multi-streaming (That's where you broadcast to multiple social media platforms all at once), youll need the server URL and streamkeys from each. You'll place them in their respective forms in Zapstream's 'Stream Forwarding" section. ![image](https://yakihonne.s3.ap-east-1.amazonaws.com/5bd346992111e56b92cafc41a37c7505c763a2d87b15b38c41231f502012648a/files/1737309551565-YAKIHONNES3.png) Use the custom form, if the platform you want to stream to isn't listed. *Side-Note: remember that you can use your nostr identity across multiple nostr client applications. So when your login for Amethyst, as an example, could be used when you login to zapstream. Also, i would suggest using Alby's browser extension. It makes it much easier to fund your stream, as well as receive zaps. * **Now, BACK TO OBS...** With Stream URL and Key in hand, paste them in the 'Stream" section of OBS' settings. Service [Custom...] Server [Server URL] StreamKey [Your zapstream stream key] ![image](https://yakihonne.s3.ap-east-1.amazonaws.com/5bd346992111e56b92cafc41a37c7505c763a2d87b15b38c41231f502012648a/files/1737309054960-YAKIHONNES3.png) After you've entered all your streaming credentials, click 'OK' at the bottom, on the right-hand side. **WHAT'S NEXT?** Let's setup your first stream from OBS. First we need to choose a source. Your source is your input device. It can be your webcam, your mic, your monitor, or any particular window on your screen. assuming you're an absolute beginner, we're going to use the source 'Window Capture (Xcomposite)'. ![image](https://yakihonne.s3.ap-east-1.amazonaws.com/5bd346992111e56b92cafc41a37c7505c763a2d87b15b38c41231f502012648a/files/1737310161331-YAKIHONNES3.png) Now, open your source file. We'll use a video source called 'grannyhiphop.mp4'. In your case it can be whatever you want to stream; Just be sure to select the proper source. ![image](https://yakihonne.s3.ap-east-1.amazonaws.com/5bd346992111e56b92cafc41a37c7505c763a2d87b15b38c41231f502012648a/files/1737310795374-YAKIHONNES3.png) Double-click on 'Window Capture' in your sources list. In the pop-up window, select your file from the 'Window' drop-down menu. ![image](https://yakihonne.s3.ap-east-1.amazonaws.com/5bd346992111e56b92cafc41a37c7505c763a2d87b15b38c41231f502012648a/files/1737311100828-YAKIHONNES3.png) ![image](https://yakihonne.s3.ap-east-1.amazonaws.com/5bd346992111e56b92cafc41a37c7505c763a2d87b15b38c41231f502012648a/files/1737311175846-YAKIHONNES3.png) You should see something like this... ![image](https://yakihonne.s3.ap-east-1.amazonaws.com/5bd346992111e56b92cafc41a37c7505c763a2d87b15b38c41231f502012648a/files/1737311311239-YAKIHONNES3.png) Working in the left display of OBS, we will adjust the video by left-click, hold and drag the bottom corner, so that it takes up the whole display. ![image](https://yakihonne.s3.ap-east-1.amazonaws.com/5bd346992111e56b92cafc41a37c7505c763a2d87b15b38c41231f502012648a/files/1737311574025-YAKIHONNES3.png) In order to adjust the right-side display ( the broadcast side), we need to manipulate the video source by changing it's size. ![image](https://yakihonne.s3.ap-east-1.amazonaws.com/5bd346992111e56b92cafc41a37c7505c763a2d87b15b38c41231f502012648a/files/1737311766382-YAKIHONNES3.png) This may take some time to adjust the size. This is normal. What I've found to help is, after every adjustment, I click the 'Fade (300ms)' button. I have no idea why it helps, but it does, lol. ![image](https://yakihonne.s3.ap-east-1.amazonaws.com/5bd346992111e56b92cafc41a37c7505c763a2d87b15b38c41231f502012648a/files/1737312139800-YAKIHONNES3.png) Finally, after getting everything to look the way you want, you click the 'Start Stream' button. ![image](https://yakihonne.s3.ap-east-1.amazonaws.com/5bd346992111e56b92cafc41a37c7505c763a2d87b15b38c41231f502012648a/files/1737312304348-YAKIHONNES3.png) **BACK TO ZAPSTREAM** Now, we go back to zapstream to check to see if our stream is up. It may take a few moments to update. You may even need to refresh the page. This is normal. ![image](https://yakihonne.s3.ap-east-1.amazonaws.com/5bd346992111e56b92cafc41a37c7505c763a2d87b15b38c41231f502012648a/files/1737312601379-YAKIHONNES3.png) STREAMS UP!!! A few things, in closing. You'll notice that your dashbooard has changed. It'll show current stream time, how much time you have left (according to your funding source), who's zapped you with how much theyve zapped, the ability to post a note about your stream (to both nostr and twitter), and it shows your chatbox with your listeners. There are also a raid feature, stream settings (where you can title & tag your stream). You can 'topup' your funding for your stream. As well as, see your current balance. You did a great and If you ever need more help, just use the tag #asknostr in your note. There are alway nostriches willing to help. **STAY AWESOME!!!** npub: nostr:npub1rsvhkyk2nnsyzkmsuaq9h9ms7rkxhn8mtxejkca2l4pvkfpwzepql3vmtf

VLC (Video LAN Client)

é um software de código aberto gratuito que permite aos usuários reproduzir diversos tipos de mídia, incluindo vídeos, música e podcasts, em vários sistemas operacionais, incluindo Windows, MacOS e Linux. Além disso, o VLC também está disponível para dispositivos móveis, incluindo smartphones e tablets com Android e iOS. O programa foi desenvolvido pela organização sem fins lucrativos VideoLAN e é utilizado por milhões de usuários em todo o mundo. O desenvolvimento do VLC começou em 1996, como um projeto acadêmico liderado por estudantes da École Centrale Paris, na França. O objetivo era criar um software de streaming de vídeo que pudesse ser usado em uma rede de campus. O projeto evoluiu ao longo dos anos e se tornou um software de código aberto que permite a reprodução de diversos tipos de mídia. O VLC foi criado por Jean-Baptiste Kempf e é desenvolvido por uma equipe de voluntários em todo o mundo. Desde sua criação, o programa passou por várias versões e continua a ser atualizado regularmente para garantir sua compatibilidade com as últimas tecnologias e sistemas operacionais. O VLC é um reprodutor de mídia que suporta uma ampla variedade de formatos de arquivo, incluindo MPEG-1, MPEG-2, MPEG-4, DivX, MP3, Ogg e muito mais. O programa é capaz de ler arquivos locais de mídia armazenados no seu computador ou no seu dispositivo móvel, bem como reproduzir mídia a partir de uma rede local ou da internet. O VLC funciona como um software autônomo e não requer a instalação de codecs adicionais para a reprodução de arquivos de mídia. Ele vem com uma ampla variedade de codecs integrados, que permitem a reprodução de diversos formatos de arquivo sem a necessidade de instalar codecs adicionais. O VLC resolve vários problemas relacionados à reprodução de mídia. Um dos principais problemas que o VLC resolve é a incompatibilidade de formatos de arquivo. Com o VLC, você pode reproduzir quase todos os tipos de arquivos de mídia, sem precisar se preocupar em instalar codecs adicionais ou software de conversão de arquivo. O VLC também resolve problemas de segurança. O programa é capaz de reproduzir arquivos de mídia criptografados e suporta vários protocolos de segurança de rede, incluindo HTTPS e RTSP sobre TLS. O VLC é uma opção confiável e eficiente para a reprodução de mídia em diversos sistemas operacionais. Ele é gratuito e de código aberto, o que significa que você pode personalizá-lo para atender às suas necessidades específicas e verificar seu código-fonte para garantir sua transparência e segurança. O VLC é um programa leve e fácil de usar que oferece vários recursos avançados, incluindo a capacidade de reproduzir mídia em rede com segurança, equalizador de áudio, suporte a legendas e muito mais. Além disso, o VLC é uma ótima opção para quem quer reproduzir mídia em um dispositivo mais antigo, pois é capaz de rodar em sistemas operacionais mais antigos e em computadores com recursos limitados. O VLC também é conhecido por sua estabilidade e capacidade de lidar com arquivos de mídia danificados ou incompletos. Ele é capaz de reparar arquivos de mídia corrompidos e reproduzir arquivos incompletos, permitindo que os usuários assistam a vídeos ou ouçam músicas que não funcionariam em outros reprodutores de mídia. O VLC é um programa altamente personalizável, com uma variedade de opções de configuração disponíveis para os usuários. É possível personalizar a interface do usuário, configurar teclas de atalho personalizadas e muito mais. Isso torna o VLC uma opção ideal para usuários avançados que desejam ajustar o programa às suas necessidades específicas. O VLC é um reprodutor de mídia altamente eficiente e confiável que permite aos usuários reproduzir diversos tipos de mídia em vários sistemas operacionais. Ele é gratuito, de código aberto e altamente personalizável, tornando-o uma opção popular entre usuários avançados e iniciantes. Com sua ampla compatibilidade de arquivo, recursos avançados e estabilidade, o VLC é uma excelente escolha para quem procura um reprodutor de mídia simples e eficiente. https://www.videolan.org/vlc/ https://github.com/videolan